Slight change of pace in this post – today, we’re going to look at how to build a package in R (which can incorporate C++ code as well). This is based on a lesson we had with Dan Grose, the new software engineer at STOR-i.
For the tutorial today, we assume that everyone is reasonably comfortable using R, and we’ll using a Linux operating system.
An overview of R
If you have used R before, you would know it is a statistical software package and programming language. It is open source (i.e. free) and comes with a variety of built-in statistical functions, such as t-tests, power calculations and plotting functions.
While this is amazing (especially when you’ve previously been doing your t-tests by hand), one of the great aspects of R is that many statisticians around the world will use it to develop functions for more complicated methods (including clustering and factor analysis), and release these for public use, in the form of packages. Users then can download and install these packages, and then freely use the functions they contain.
While packages are great for loading other functions written in R, they have another wonderful aspect as well. One of the drawbacks of R is that it can be much slower than other programming languages. However, when building a package in R, you can actually incorporate code written in C++ (the language R is built from), which is MUCH quicker.
Step 1 – building the package skeleton
The first step is to build the “package skeleton”.

This is simply a folder on your computer in which we’re going to put all our “.r” and “.cpp” files with the functions we want to include. To do this is really simple, if we use the “Rcpp” package in R. This package gives us a command which simply builds the skeleton for us.
To build the skeleton, we simply run the following command in R after loading the Rcpp package:
package.skeleton(“NameOfPackage”,code_files=”ListOfRFiles”,cpp_files=”ListOfC++Files”)
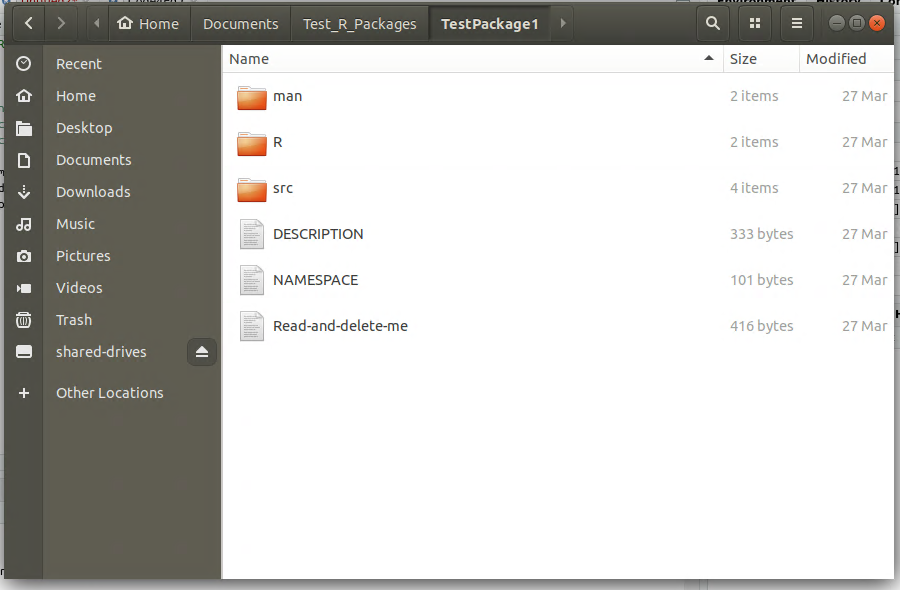
This creates the package skeleton (called “NameOfPackage”) in the working directory. In the skeleton, there are three folders:
- man – unimportant for this tutorial
- R – a folder where we put all our “.R” files, containing the functions we want in the package, written in R
- src – a folder where we put all our “.cpp” files, containing the functions we want in the package, written in C++
While we can manually put the files in these folders, the package.skeleton function will have automatically placed the files in named in the code_files and cpp_files arguments in the R and src respectively.
Step 2 – building the package
This step is much simpler. Once we have the package skeleton, we simply run the following command from the terminal:
R CMD build PackageDirectory/PackageSkeletonName
substituting the package directory and name in where appropriate.
This builds the package tarball, which can then be sent to and installed on any machine running R.

Step 3 – installing the package
This step is even easier. Just run the following command from the terminal
R CMD INSTALL PackageDirectory/PackageTarBallName
Once this is done, your package can be loaded as a library in R, and is ready to use!
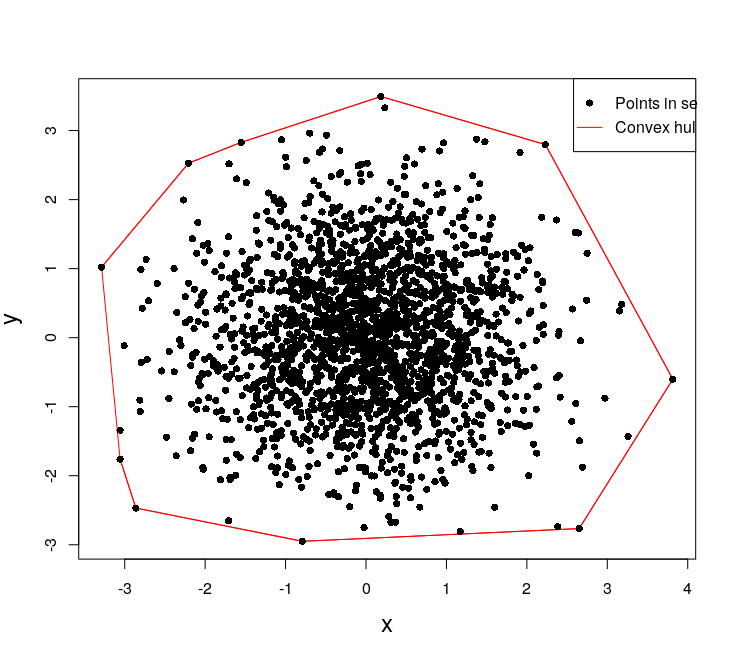
Example – Convex hulls using the Jarvis March Algorithm
As part of our lesson, we created an R package containing functions to find the convex hull of a set of points, using the Jarvis March algorithm. In this package, we wrote a function called “ConvexHull” to find the convex hull of the points in C++, and then wrote a function to take a convex hull (the output of our function “ConvexHull”) and the set of points and plot these, which we wrote in R.
All files used to create this package, and the created package tarball can be found here. In that folder, you can find the tar ball for the package, which can be installed using the above instructions. If you would like to make the package from scratch yourself, you can do so using the provided file “R_Package_Building_Code.r”. This which provides code to build the package skeleton,

load the package,

generate the points, and find the hull (using a C++ function in the “Hamish_CPP_HM_Functions.cpp” file, in the “JM_Package_CCode/CPP_Code” directory),
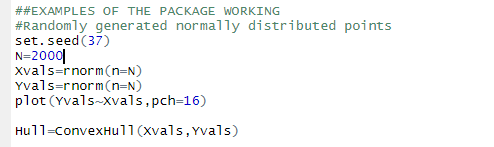
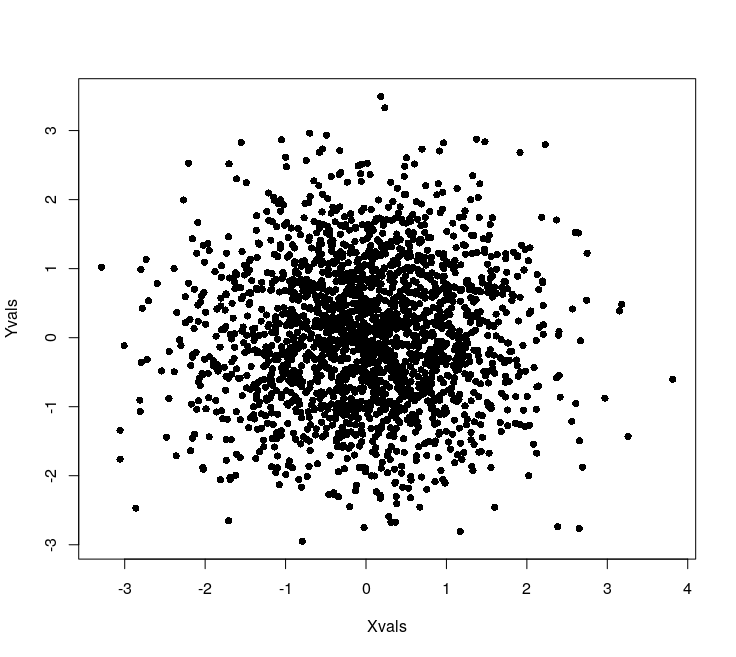
and plot this function using a function written in R.

which gives the following result:
And that’s it! While there are some more tricks you can do (like adding user-interrupts to the code), this should be enough to get you started with building packages of your own.